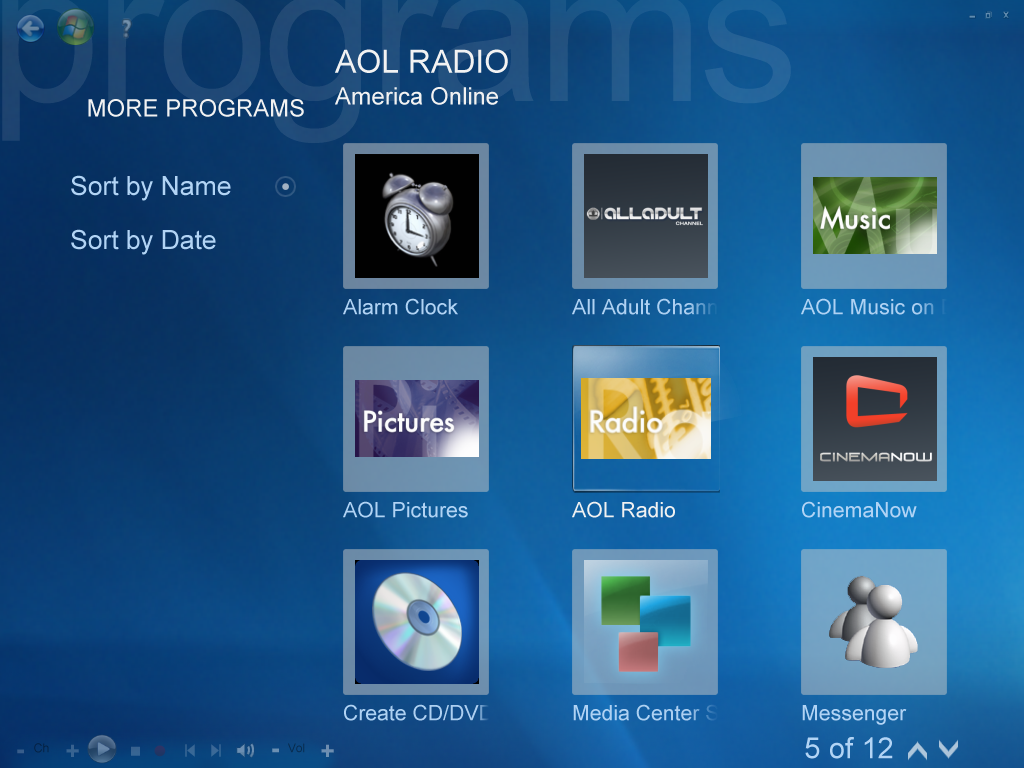
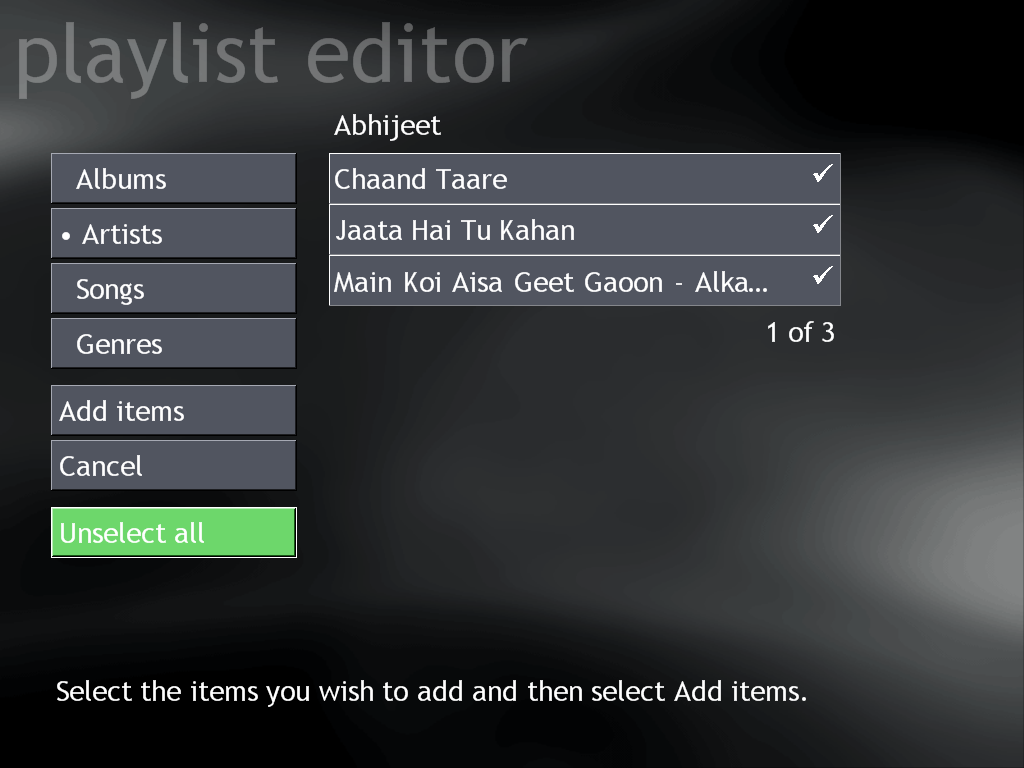
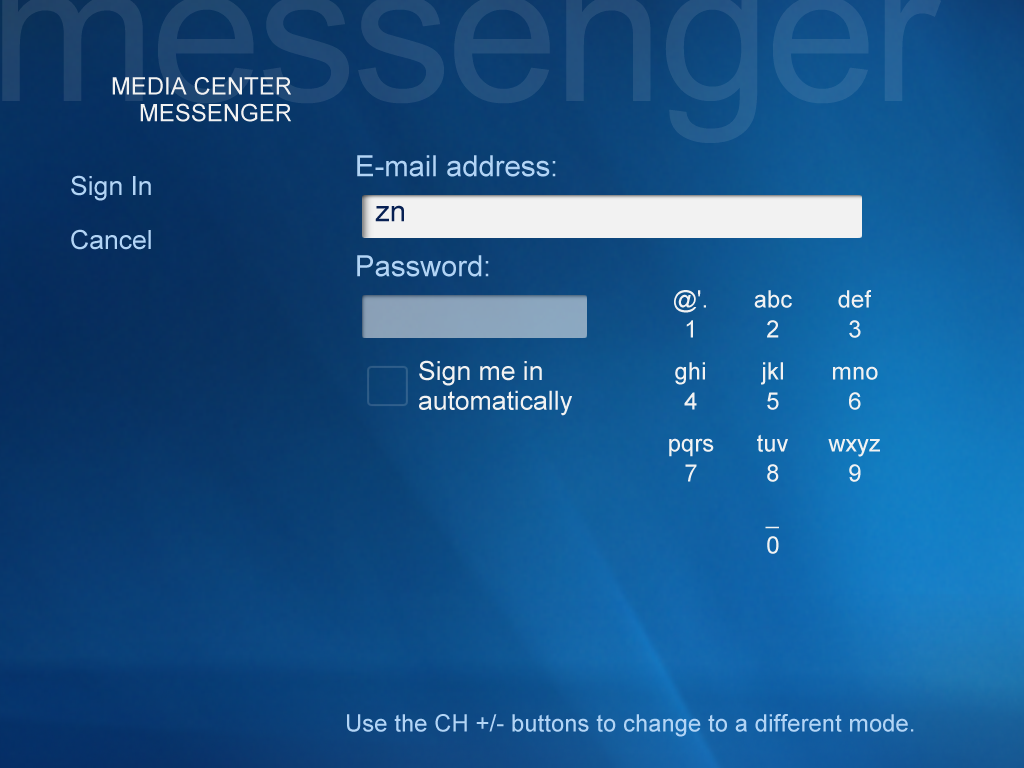
Showing posts with label windows xp. Show all posts

Tuesday, 11 March 2014

Transform Windows XP/7 into Ubuntu

Transform Windows XP/7 into Ubuntu
without using customisation package

Note:
All the dead links have been fixed, dated 15/9/2015.

Summary:
Transform the old & boring looks of your Windows XP / 7 into new and colorful looks of Ubuntu Linux.

Bundle Download:
Instead of downloading one by one, get the bundle download from here.  Size: 66 MB

Pre-Requisites:
Before further indulging in the Blog, make sure that the following file archivers are installed:

What is Ubuntu?
Like Microsoft Windows, Ubuntu is a computer operating system.  Unlike Microsoft Windows, Ubuntu is based on Linux based operating system.  Linux is faster & safer than Microsoft's Windows.  Another Linux distros Google's Android, which is also a Linux based operating system, but unfortunately it is only for Tablets & Smart Phones, whereas Ubuntu is a complete & continuously updated computer operating system by Canonical Limited. See the Wikipedia article on Ubuntu (operating system).

Transform Windows XP/7 into Ubuntu w/o using any Customisation Pack:
This blog post is solely dedicated to transformation of Windows XP/7 into Ubuntu without using any customisation pack.  Take a look at the following step by step set of instructions:

VISUAL STYLE
Ubuntu Human Visual Style on Windows XP
Two different start menus in Ubuntu Visual Style for Windows XP
1. Apply through patching (Windows XP & 7):
(a) For Windows XP:
Instructions:
  1. Run the Universal Theme Patcher
  2. Click all patch buttons visible in the Universal Theme Patcher 
  3. After patching, restart your computer 
  4. Now copy the Windows theme file and its corresponding folder to C:\Windows\Resources\Themes 
  5. Double click the Windows theme file in this folder. (Do not double click theme file in Downloads folder)
(b) For Windows 7:
Instructions:
  1. Run Universal Theme Patcher, and click all the buttons of Patch
  2. Copy the MSSTYLES & theme files into C:\windows\resources\themes\
  3. Now double click the theme file to install the theme on Windows 7
  4. In order to replace the icons, you have to first add Take Ownership option to the context menu and then replace the explorer.exe file using the Replacer.  The location of explorer.exe is C:\Windows
  5. To see the tutorial on how to replace the ORIGINAL DLL/EXE files with REPLACEMENT files see the video tutorial here.
2. Apply through TuneUp Utilities (For Windows XP):
Instructions:
  1. Unzip the downloaded folder
  2. Now open TuneUp Styler
  3. Click “Select a Visual Style for the windows…”. Click Add and then “Load visual style from a file…”
  4. Select the Windows Visual Style file and then click Apply.
LOGON SCREEN
For Windows XP:
Ubuntu Logon Screen on Windows XP
1. Through replacing logonui.exe (Windows XP SP3):
Instructions:
  1. Unzip the folder of Take Ownership Option first.
  2. Now add “Take Ownership” option in the Context Menu by double clicking the file: Add Take Ownership Option.reg
  3. Click Yes, and you are done.
  4. Now open this location: C:\Windows\System32, and find the file: “logonui.exe”.
  5. Take ownership by right clicking the file and then clicking Take Ownership in the Context Menu.
  6. Now unzip the second downloaded folder, inside the folder you will find the modified file “logonui.exe”.
  7. Now run Replacer and replace original XP “logonui.exe” with the modified “logonui.exe”.  You will find the original file in this location: C:\Windows\System32.
  8. Now you have successfully replaced the original file with the modified file.
  9. Logoff to see the change.
Note: If you are having trouble in replacing the original file with the modified file, you can see the video tutorial on YouTube.

2. Through TuneUp Utilities (Windows XP):
Instructions:
  1. Unzip the downloaded folder, and inside the folder you will find a TLS file
  2. Open the Tuneup Utilities, and go to Logon Screen in TuneUp Styler.
  3. Now click the Customize Windows tab.
  4. Click Logon screen under the Change Windows Appearance side.
  5. Now click Add and then click “Load logon screen from a file”.
  6. Now select the TLS file.
  7. Now click the Apply button. Log off to see the changes.
BOOT SCREEN
For Windows XP:
Ubuntu Boot Screen on Windows XP
Instructions:
  1. Unzip the downloaded folder, and inside the folder you will find a TBS file
  2. Run TuneUp Utilities, and go to Boot Screen in TuneUp Styler
  3. Click Add, then click “Load boot screen from a file…”.  Now select your unzipped boot screen and then click Apply.
  4. Restart the computer to see the new boot screen.

WALLPAPERS
Ubuntu Wallpapers
Instructions (Windows XP):
  1. Copy the wallpapers in C:\Windows\Web\Wallpaper\Windows folder.
  2. You can now change the wallpaper from Desktop Properties

SCREENSAVER
Ubuntu Screensaver
Instructions:
  1. Unzip the folders and copy all the screensavers to this folder: C:\Windows\System32
  2. You can now change the screensaver from Desktop Properties
ICONS (& DIALOG BOXES)
1. Through TuneUp Utilities on Windows XP:
Ubuntu icons on
Windows XP
Instructions:
  1. Unzip the downloaded folder, and inside the folder you will find a TIP file
  2. Run TuneUp Utilities, and go to System Elements in TuneUp Styler, and then click Icon Packages
  3. Click Add, then click “Load icon package from a file…”.  Now select your unzipped icon package and then click Apply.
  4. Your new icons are installed.
2. Through Replacing Modified File (For getting icons & dialog boxes) on Windows XP SP3:
Ubuntu Style Dialogs in Windows XP SP3
The biggest benefit of replacing modified "shell32.dll" is that you will also get the Ubuntu style dialog boxes including the turn off / restart dialog on Windows XP.  For this you will be needed to download the following:
Instructions:
  1. Unzip the folder of Take Ownership Option first.
  2. Now add “Take Ownership” option in the Context Menu by double clicking the file: Add Take Ownership Option.reg
  3. Click Yes, and you are done.
  4. Now open this location: C:\Windows\System32, and find the file: “shell32.dll”.
  5. Take ownership by right clicking the file and then clicking Take Ownership in the Context Menu.
  6. Now unzip the second downloaded folder, inside the folder you will find the modified file “shell32.dll”.
  7. Now run Replacer and replace original XP “shell32.dll” with the modified “shell32.dll”.  You will find the original file in this location: C:\Windows\System32.
  8. Now you have successfully replaced the original file with the modified file.
  9. Restart to see the change.
Note: If you are having trouble in replacing the original file with the modified file, you can see the video tutorial on YouTube.

MOUSE CURSORS
Instructions:
  1. Unzip the downloaded folder, and inside the folder you will find CUR files and a Install.INF file.
  2. Right click the Install.INF file and then click Install in the context menu.  All the cursors will be automatically copied to your default mouse cursors folder.
  3. Now open the Control Panel and then open the Mouse and then Pointers and then select Ubuntu from the Scheme’s drop down menu and then press Apply.
  4. Your new cursors are installed.

SOUND SCHEME
Instructions:
  1. Unzip the downloaded folder, and copy all the media files in this folder: C:\Windows\Media
  2. Now open Control Panel and then open Sounds and Audio Devices and then click the Sounds tab.
  3. Now change the current sounds for each Program Events to the Ubuntu sounds (which you have copied to Windows default media folder)
  4. Don’t forget to save your current Windows XP sound scheme before changing it to the new one.
DESKTOP MENU BAR
Ubuntu Style Menu Bar on Windows XP
Instructions:
  1. First install Object Bar, and then run the application.
  2. Now unzip the folder of Ubuntu Theme, and inside you will find an OBPACK file.
  3. Simply double click the file, and a confirmation box will be appeared, simply press Yes button.
  4. Your new theme for Object Bar has been installed.
VIRTUAL DESKTOP MANAGER
Virtual Desktop Manager on Windows XP
Instructions:
  1. First install Microsoft Desktop Manager.
  2. Now right click the taskbar, and then click Desktop Manager in Toolbar menu.
  3. Now your Desktop Manager is installed.
My Pages:
YouTube: youtube.com/user/znpower
DeviantArt: xulfikar.deviantart.com

SYSTEM REQUIREMENT:
Recommended:
·         2 GHz Intel or AMD Processor (Dual Core);
·         1 GB RAM;
·         128 MB Graphic Card Memory; and
·         80 GB HDD.

VERY IMPORTANT NOTE:
Since some application files might have been "patched" or "compressed" (packed) to work properly on your Windows operating system, therefore, some "false alarm" or "false positive" may happen to some clean *.exe installers/applications /installation processes, although they are actually CLEAN & SAFE and does not pose a threat to your system. The term "false positive" is used when an Anti-Virus Software wrongly classifies an innocuous (inoffensive) file as a Virus. This incorrect detection may be due to heuristics or to an incorrect virus signature in the database of Anti-Virus. Usually some great and famous Anti-Viruses (such as Kaspersky, AVG, Norman, McAfee, etc) won't have such problem so far. If that happens to you, then simply ignore it and continue installing as it's guaranteed actually 100% safe and clean by me and other guys who are posting these applications. But again, it's still your own choice and right to decide.


Sunday, 25 December 2011

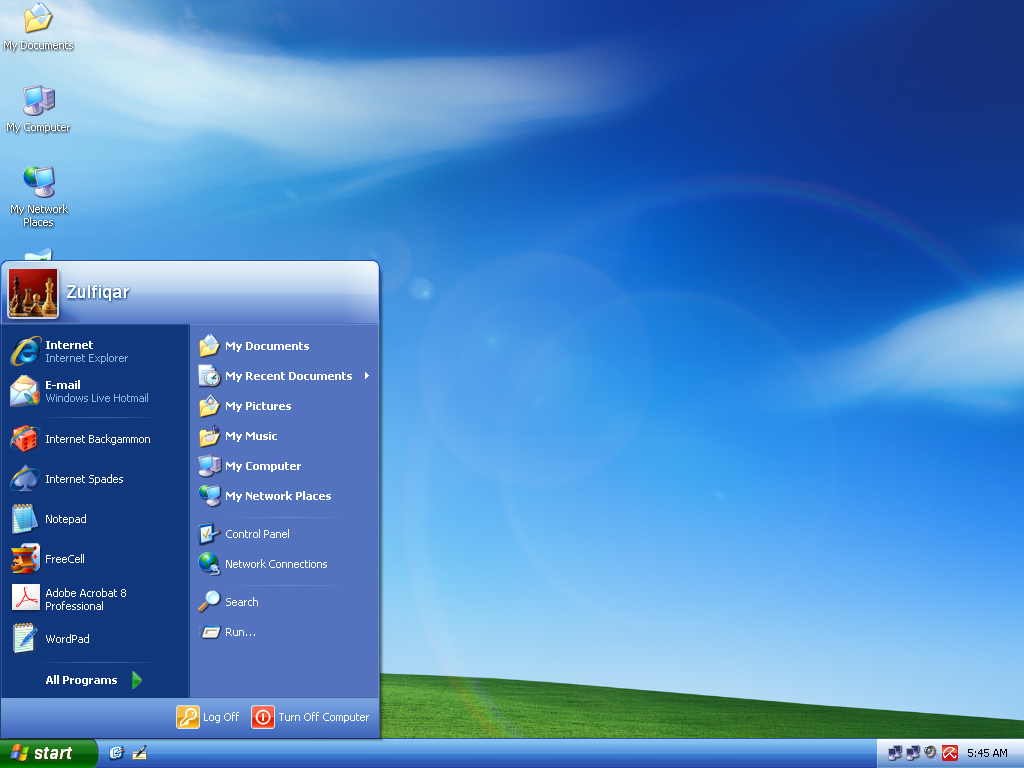
Transform Windows XP to Windows XP Media Center Edition 2005

Introduction to Windows XP Media Center Edition 2005:
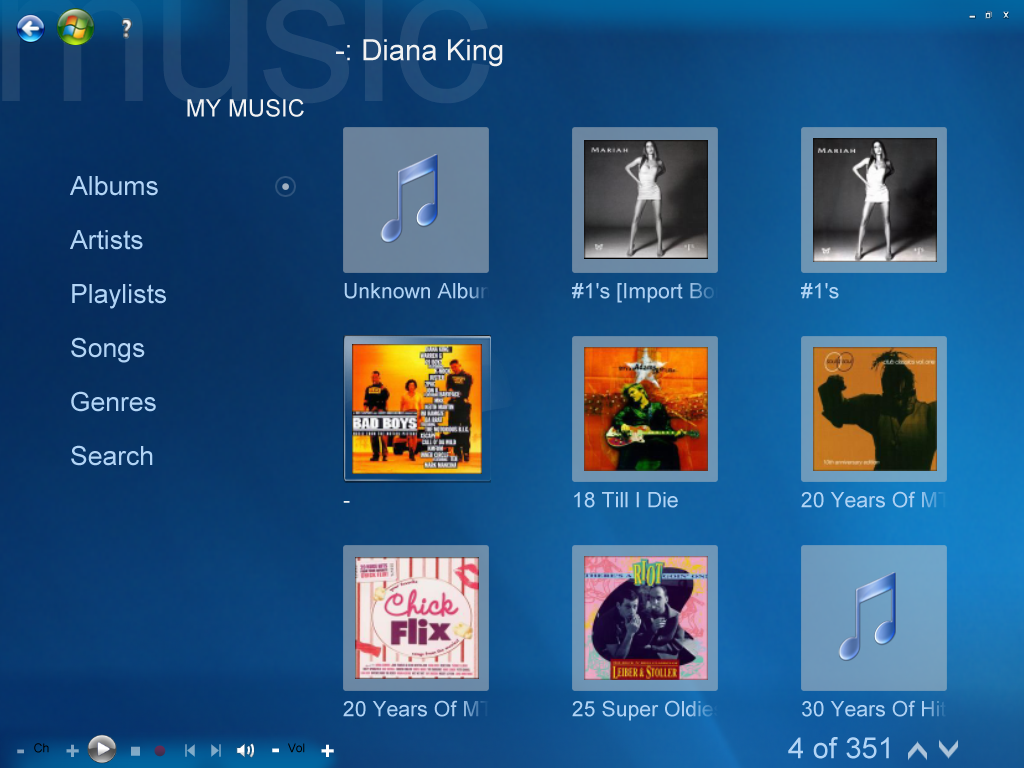
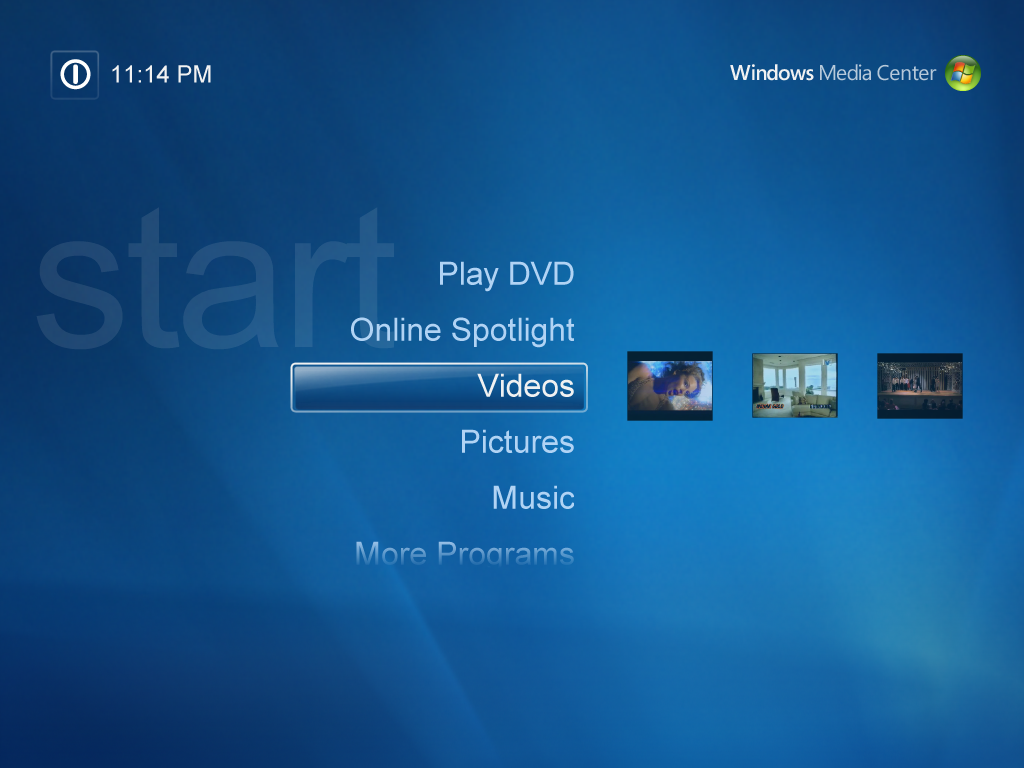
With the introduction of Windows Media Center, Microsoft made a big jump from Windows' traditional user interface (as in Windows 95, 98, ME, 2000 and XP's non-MCE editions) to a new attractive user interface in Windows XP Media Center Edition 2005.  In the following versions of Windows, i.e., Windows Vista and Windows 7 Media Center becomes an essential part of Windows.  Even the Start Page of Windows 8 was somewhat inspired from Windows Media Center.

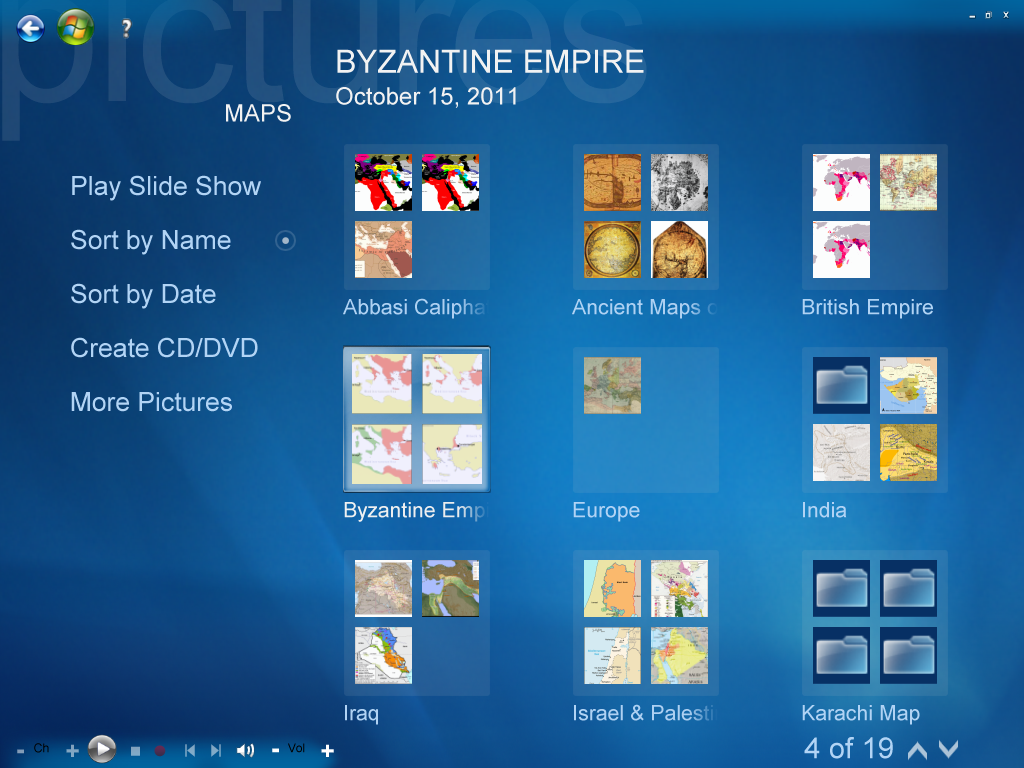
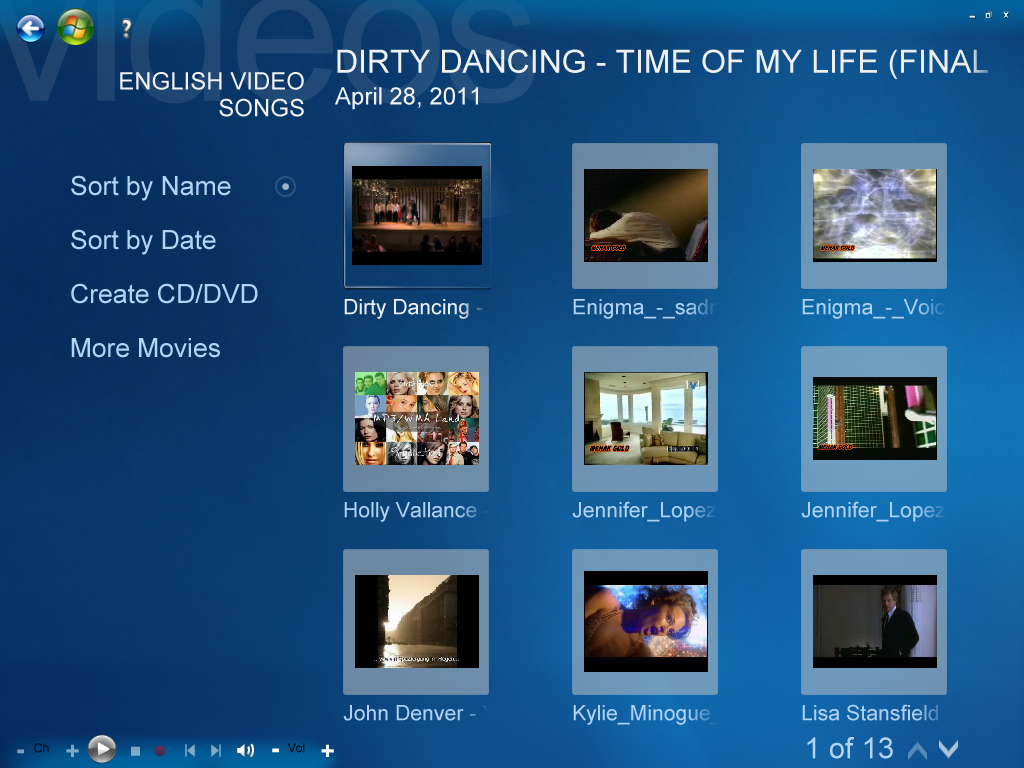
In 2005, Microsoft launched, for the first time, Windows XP Media Center Edition (MCE). Windows XP MCE is distinguished from other editions of Windows XP by an exclusive preinstalled application, i.e., Windows Media Center, which provides large-font based, remotely accessible interface for TV viewing on the computer as well as recording and playback, DVD playback, video playback, photo viewing, and music playback.  Computer user can also enjoy the computer output on Digital TV and crawl through different contents of Web and other contents on computer using his/her remote control.


Besides the main application of Windows Media Center, Windows XP MCE 2005 also includes other updated features and advanced applications.  Some of them are enlisted below:
  • Royale desktop theme as its default theme (instead of XP's default theme of Luna/Bliss)
  • Screensavers and themes:
          - Windows XP MCE 2005 (screensaver)
          - Aquarium (theme & screensaver)
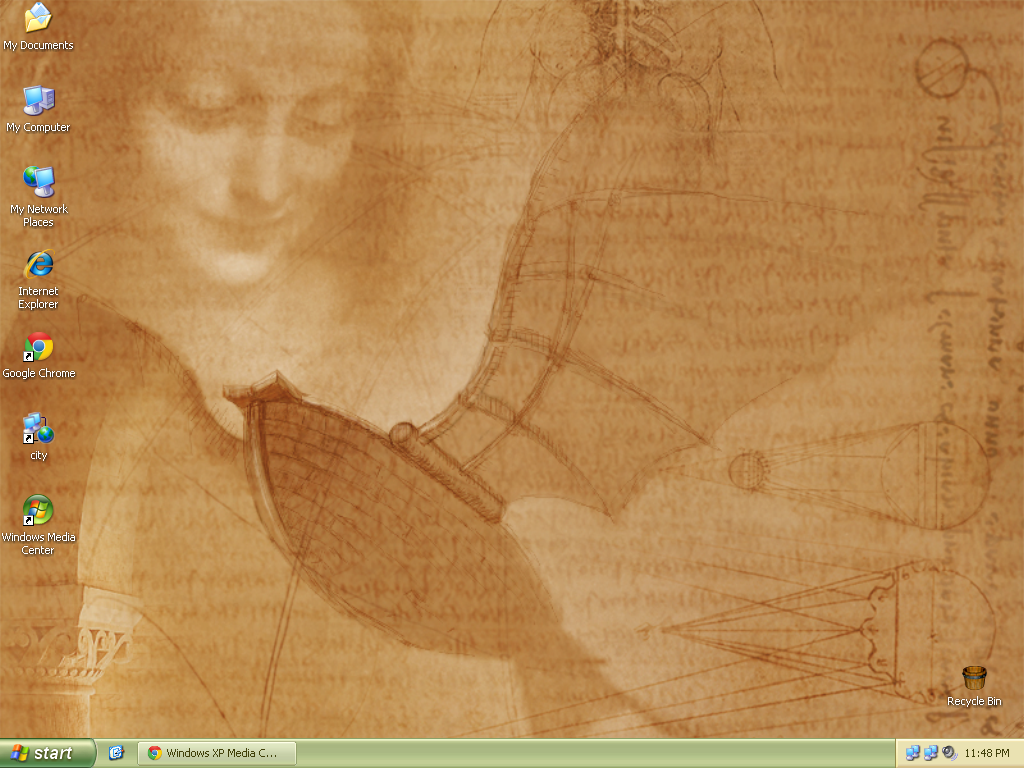
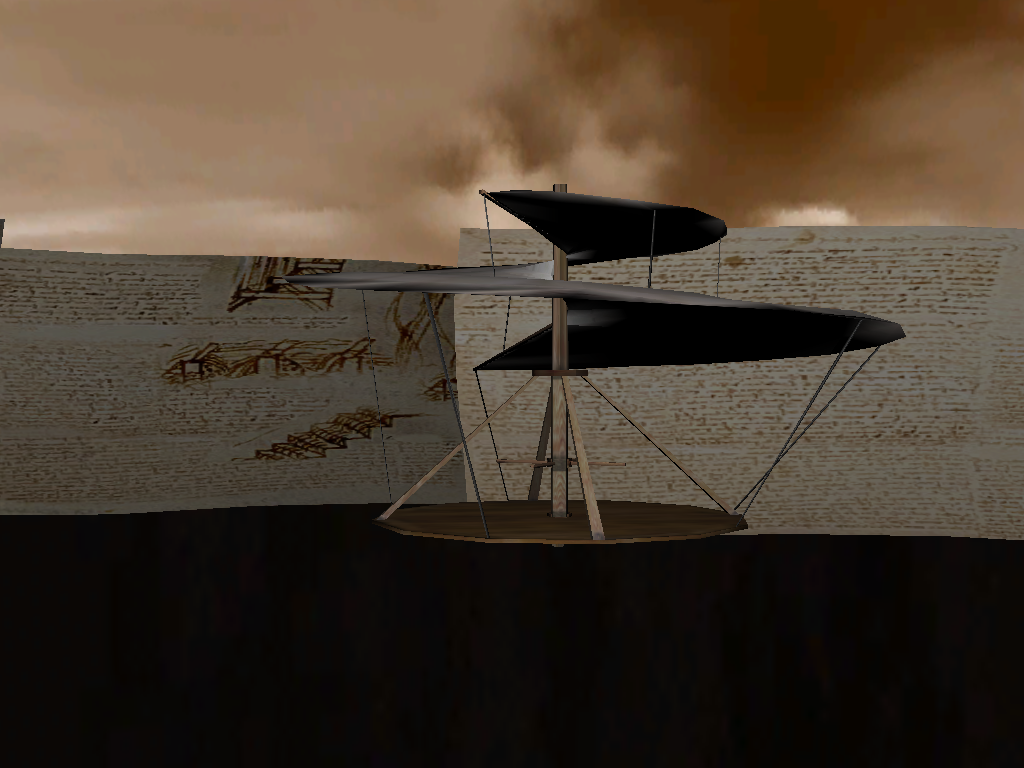
          - Da Vinci (theme & screensaver)
          - Nature (theme & screensaver)
          - Space (theme & screensaver)
          - My Pictures Premium (screensaver)
  • Microsoft Plus! Digital Media Edition:
          - Photo Story 2
          - Party Mode
          - Analog Recorder
          - CD Label Maker
          - Dancer
          - Audio Converter
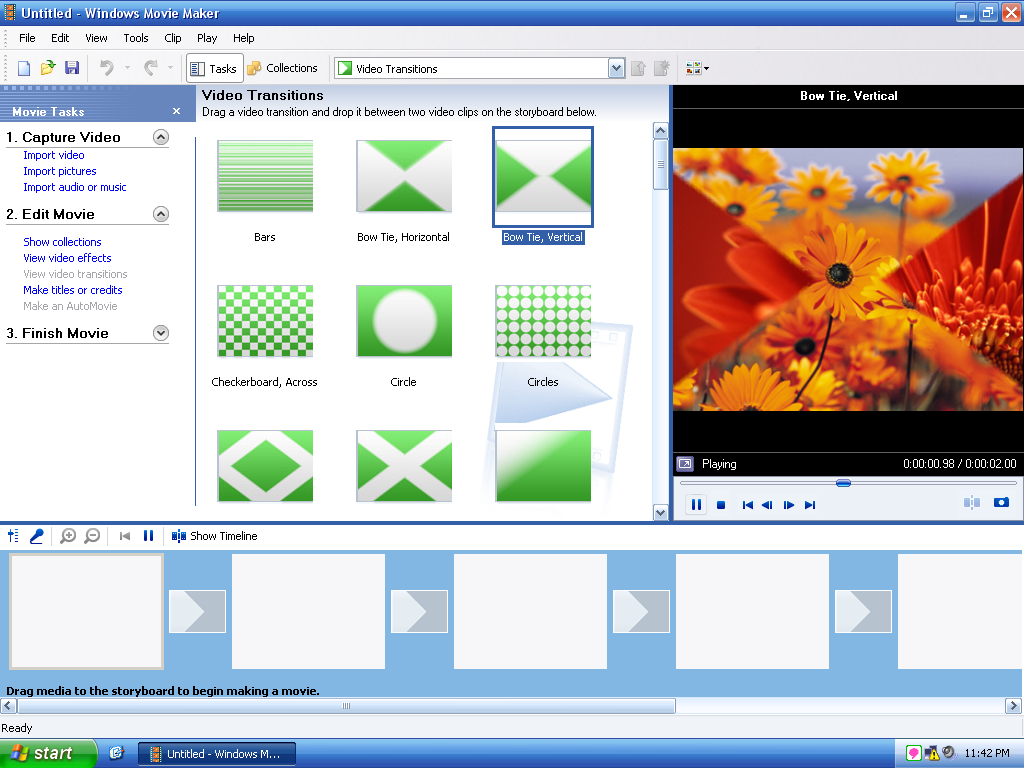
          - Effects and Transitions for Windows Movie Maker 2
          - Alarm Clock
          - Sleep Timer
          - Skins for Windows Media Player 9 Series
          - Sync & Go for Pocket PC
  • Windows Media Player 10
  • Windows Media Format Runtime 9.5
  • Windows Movie Maker 2.5
  • Extender support
Summary:
In the following tutorial, we will discuss about how to transform Windows XP (other editions) to Windows XP Media Center Edition 2005. Do not forget to read the "VERY IMPORTANT NOTE" at the end of this post.

Bundle download (Complete transformation pack):
Instead of downloading one by one of each of following applications, mods, themes, etc., you can get the bundle download from here. Size: 253 MB

Pre-Requisites:
Before continuing further into the blog, make sure you have installed the following file archivers for unzipping various formats of files:

  • WinRar (For unzipping RAR & ZIP files)
  • B1 Archiver (For unzipping B1, 7Z, RAR & ZIP files)
  • 7-Zip (For unzipping 7Z, RAR & ZIP files)
Transformation of Windows XP to Windows XP Media Center Edition 2005:
WINDOWS MEDIA CENTER
Before continuing to transformation tutorial, lets take a look at the video showing the transformed version of Windows XP SP2 into Windows XP MCE 2005:


Following are the requirements or pre-requisites of installing Windows Media Center on Windows XP Professional Edition or Home Edition, you have to install them one by one in chronological order:

PRE-REQUISITES:
     1. Windows Media Player (latest version) (WMP version 11 is recommended)
     2. .NET Frameworks:

                - (i)   .NET Framework 1.0 (updated upto Service Pack 3)
                - (ii)  .NET Framework 1.1 (updated upto Service Pack 1)
                - (iii) .NET Framework 2.0 (optional)

     3. Supported DVD/MPEG-2 Decoder for WMC and a 3rd party codecs (optional but highly suggested)

     4. DirectX 9 Runtime (Redistributable Package) latest version (optional)

     5. Supported/capable MCE hardware/machine/peripheral (optional)

     6. DVD ROM/Writer (optional)

1. Windows Media Player:
Download and install the latest version of Windows Media Player for Windows XP from Microsoft's official website:
Note:
If you have already installed WMP 10 or WMP 11 on your system, you are not needed to install it again.

2. .NET Frameworks:
This stage involves a step-by-step process, i.e., first thing is to be installed first, second thing is to be installed after first's installation, and so on.  In order to avoid any error, as a first step, you have to install .NET Framework 1.0, then 1.1 and so on. Under .NET Framework 1.0, you have to install .NET Framework Redistributable and then the Service Packs. Same procedure will apply to .NET Framework 1.1 and 2.0. Lets take .NET Framework 1.0 first:

.NET Framework 1.0:
To enable the WMC feature in Windows XP, you are needed to install all the following updates/service packs of .NET Framework 1.0:
Instructions:
Download the above installers and install them in the following chronological order:

1. NET Framework 1.0 Redistributable
2. NET Framework 1.0 SP3 (KB867461) English

.NET Framework 1.1:
After installing .NET Framework 1.0 (upto Service Pack 3), you have to install .NET Framework 1.1:
Instructions:
Download the above installers and install them in the following chronological order:

1. NET Framework 1.1 SDK
2. NET Framework 1.1 Redistributable
3. NET Framework 1.1 SP1 (KB867460) English

.NET Framework 2.0: (optional)
Although, the installation of .NET Framework 2.0 is optional, but to run certain WMC addons like Alarm Clock and Playlist Editor without any error, its installation is inevitable:
Instructions:
After installing .NET Framework 1.0 (updated upto SP3) and .NET Framework 1.1 (updated upto SP1), you can now install .NET Framework 2.0.

3. Supported DVD/MPEG-2 Decoder for WMC and a 3rd party codecs: (optional but highly suggested)
Since Windows Media Center uses Windows Media Player engine to play videos, and Windows XP (other editions) does not have a native DVD support, therefore, you will be needed to install DVD decoder/codecs to play DVD and non-supported videos, like FLV, OGG, VOB, some AVIs, MP4, etc. in WMC and WMP.  So it is highly recommended to install a 3rd party codecs software.  My favourite video codec software is K-Lite.

Note:
If you have already installed any of the 3rd party codecs software, you are not needed to install K-Lite:
Instructions:
1. Simply run the installer you downloaded from the above link;
2. During installation, when asked, set the default player to Windows Media Player to run 3rd party videos you usually watch, for e.g., FLV, MOV, MP4, etc.  This will enable to watch non-supported videos in WMC as well as WMP.
3. During installation, when asked, enable the thumbnail viewing for 3rd party videos you usually watch, e.g., FLV, MOV, MP4, etc.  This will enable to view the thumbnails of non-supported videos in WMC as well as WMP.

4. DirectX 9 Runtime Redistributable Package: (optional)
DirectX 9 Runtime Redistributable is necessary for smooth animations and graphics. Download link is as below:
Instructions:
Simply run the installer.

5. MCE Hardware: (optional)
If you do not have supported MCE hardware, i.e., TV Tuner, etc., you can still get the WMC working absolutely fine with your computer.

6. DVD ROM/Writer: (optional)
WMC can work absolutely fine without DVD ROM even without CD ROM.

WINDOWS MEDIA CENTER:

After installing all the aforesaid pre-requisites, you can now run Windows Media Center installer.  The WMC version that I have uploaded is tweaked for better installation and appearance:
Instructions:
1. Double click the "WMCSetup.exe" installer file, and follow the steps, the installer will take 3 to 6 minutes to install WMC on your computer;
2. The installer will automatically create shortcuts in Desktop, Start Menu and Quick Launch;
3. After finishing installation you are not needed to reboot.

Note:
  • It is highly recommended to close all the running applications.
  • Create a system restore point, if you feel necessary, so that in case of any system failure, you can switch to your system's previous good point.
  • If you want uninstall the WMC, simply go to Control Panel then double Add or Remove Programs and then uninstall the Windows Media Center.


WINDOWS MEDIA CENTER ADD-ONS:

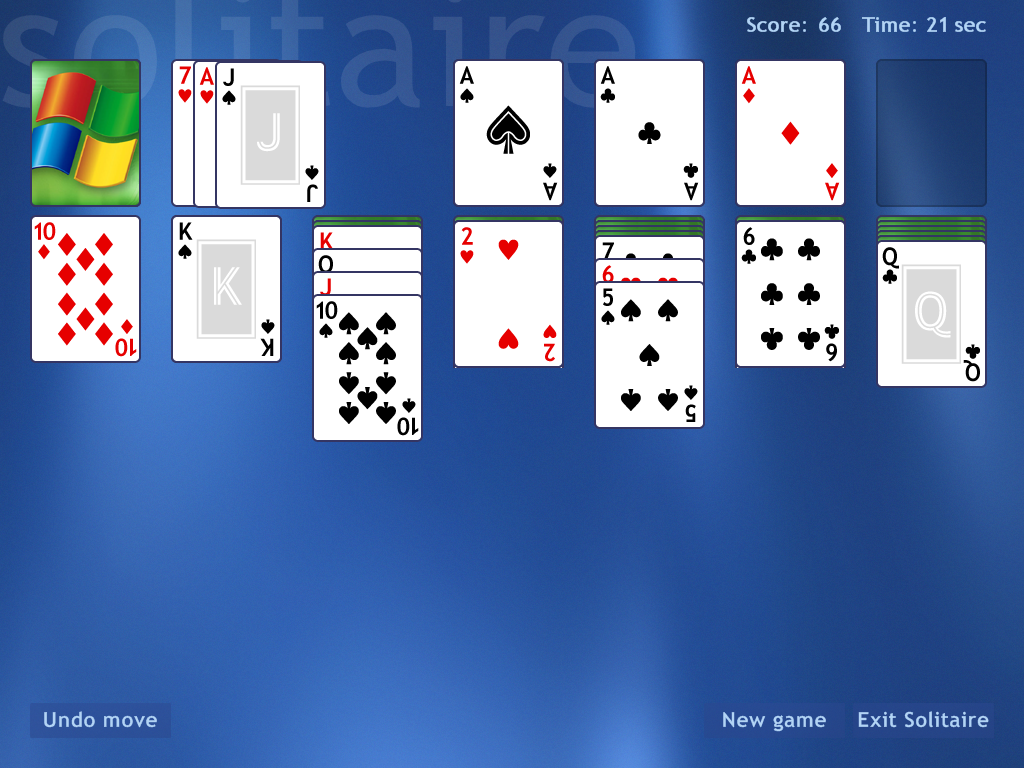
Media Center Solitaire:

To play Solitaire in Windows Media Center, download and install the following:
DEFAULT THEME
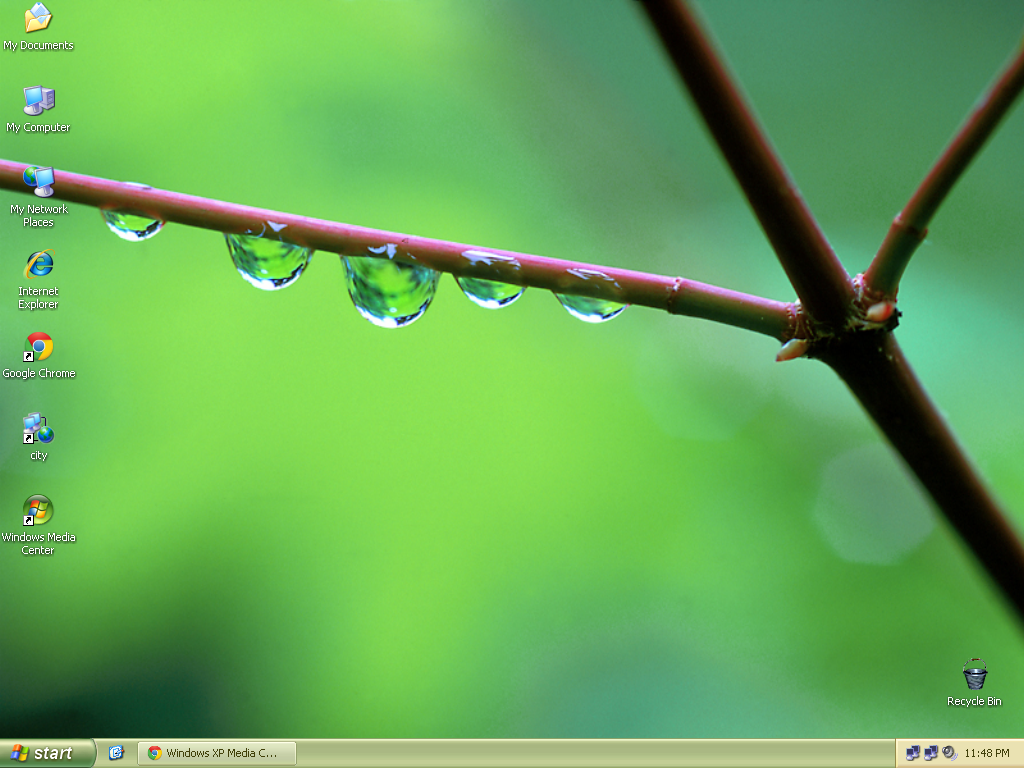
Windows XP Media Center Edition theme on Windows XP Professional

Windows XP MCE 2005 has a very attractive and shinning visual styler as compare to other editions of Windows XP.  To get the Windows XP MCE 2005's default theme, i.e., Royale theme aka Energy Blue theme on your Windows XP (other editions), download the following zipped folder:
Instructions:
1. Unzip the folder and copy it to C:\WINDOWS\Resources\Themes
2. Open the desktop properties and then change the theme to Energy Blue Theme

BOOT SCREEN (new)
Windows XP Media Center Edition 2005 Boot Screen on Windows XP Professional
Windows XP MCE 2005 has a different boot screen.  To get the Windows XP MCE 2005's default boot screen on your Windows XP (other editions), you have to install TuneUp Utilities to apply the bootscreen:

LOGON SCREEN (new)
Windows XP Media Center 2005 Logon Screen on Windows XP Professional
Windows XP MCE 2005 has a different logon screen, which is quite similar to Windows Vista.  To get the Windows XP MCE 2005's logon screen on your Windows XP (other editions), you have to install TuneUp Utilities to apply the logon screen:


SCREENSAVERS & THEMES

As stated above, Windows XP MCE 2005 includes the Aquarium, Da Vinci, My Pictures Premium (screensaver only) Nature and Space themes and screensavers.  To get the same, download the zipped application from the following link:
Instructions:
1. Run the application that automatically copy all the screensavers and themes to their default folders;
2. After installing the application, open the desktop properties and then change the theme or screensaver as per your desire.

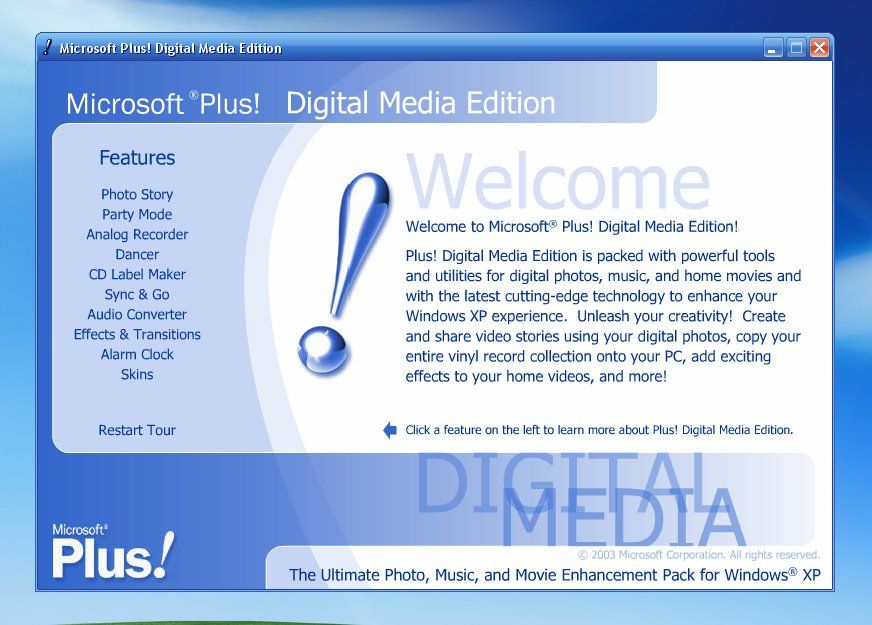
MICROSOFT PLUS! DIGITAL MEDIA EDITION

Microsoft launched Plus! Digital Media Edition along with Windows XP Media Center Edition.  It has many attractive applications enhancing users' experiences with photos, videos and music.  It was later released as a separate software package.  As stated above, Microsoft Plus! DME includes the following things:

          - Photo Story 2
          - Party Mode
          - Analog Recorder
          - CD Label Maker
          - Dancer
          - Audio Converter
          - Effects and Transitions for Windows Movie Maker 2
          - Alarm Clock
          - Sleep Timer
          - Skins for Windows Media Player 9 Series
          - Sync & Go for Pocket PC
    You can download and install all of the applications included in Microsoft Plus! DME packed in a zipped folder:
    Instructions:
    1. Download the zipped folder and unzip it in C:\ or D:\ or any other drive. But make sure that you are unzipping the folder in a root directory, i.e., C:\ or D:\ etc. Otherwise, the extractor/installer will show an error.  This is because of long names of folders provided by Microsoft, and the extractor/installer faces a problem while extracting or installing the folder which is already in folders like Downloads, My Documents, etc. with long roots. Again, DO NOT EXTRACT THE ZIPPED FOLDER IN DOWNLOADS, MY DOCUMENTS, or DESKTOP;
    2. After unzipping the folder to a root directory, i.e., C:\ or D:\ , now run the Setup.exe file.
    3. At the end of the installation, the installer will ask for activating the product, just ignore it and click the Next button, and you are done!
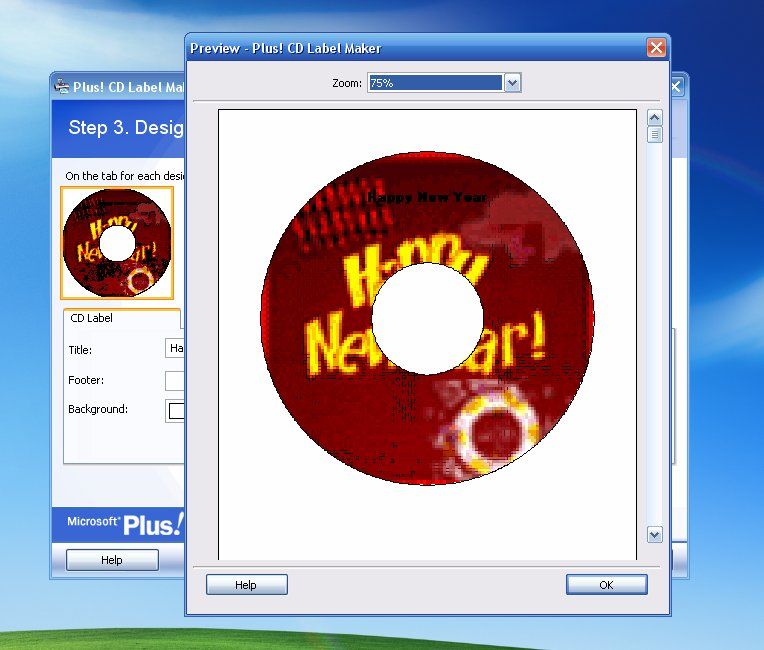
    CD Label Maker
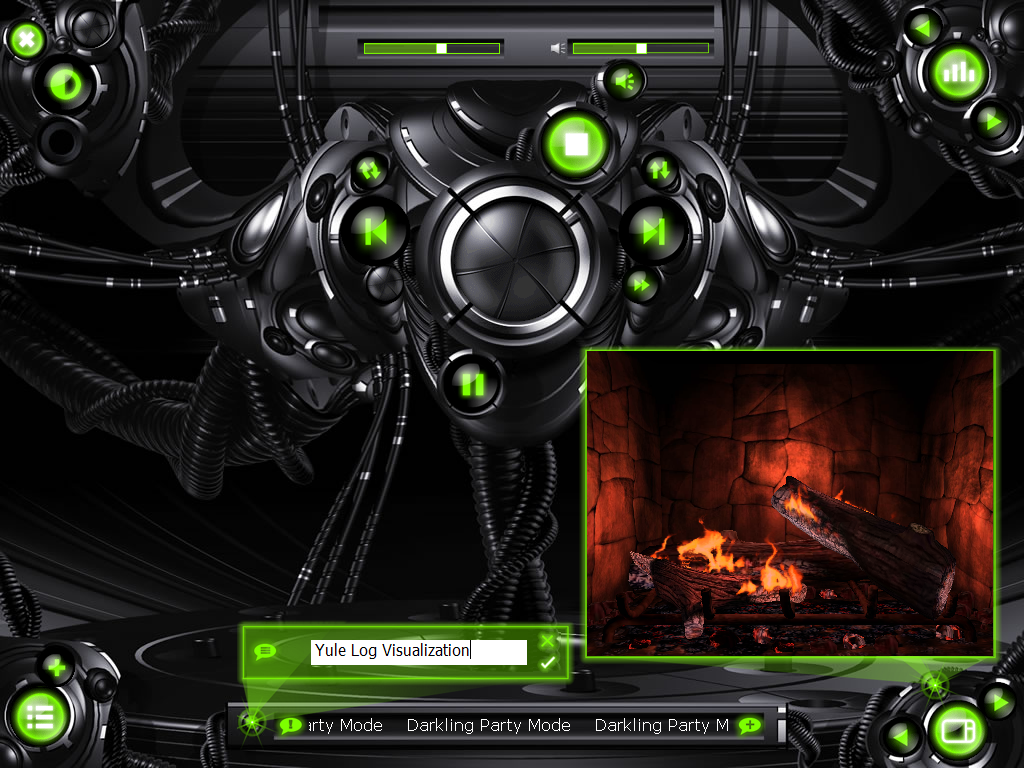
    Party Mode
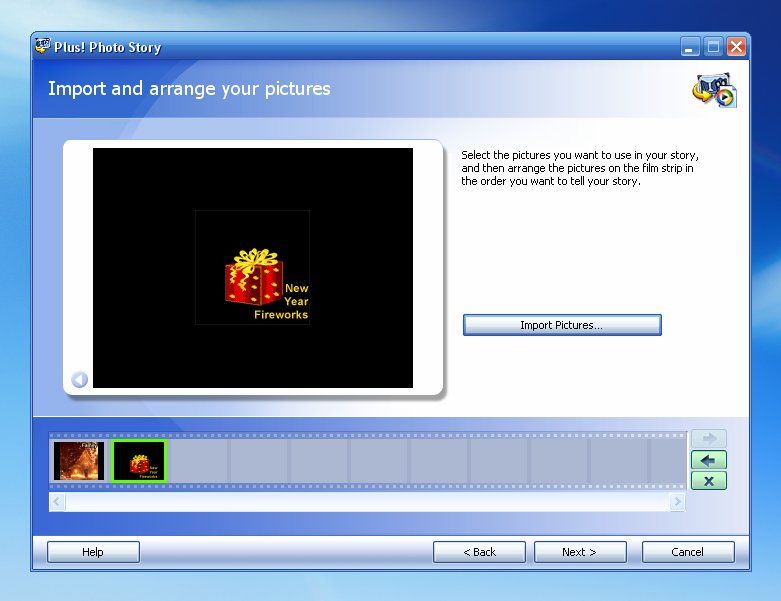
    Photo Story

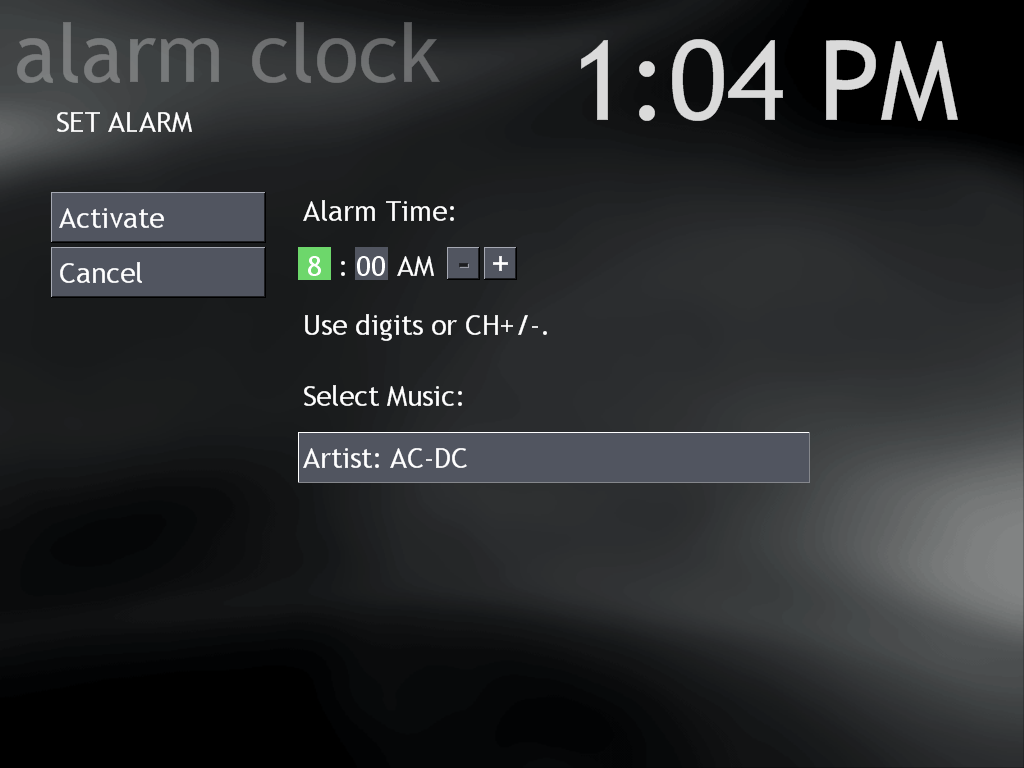
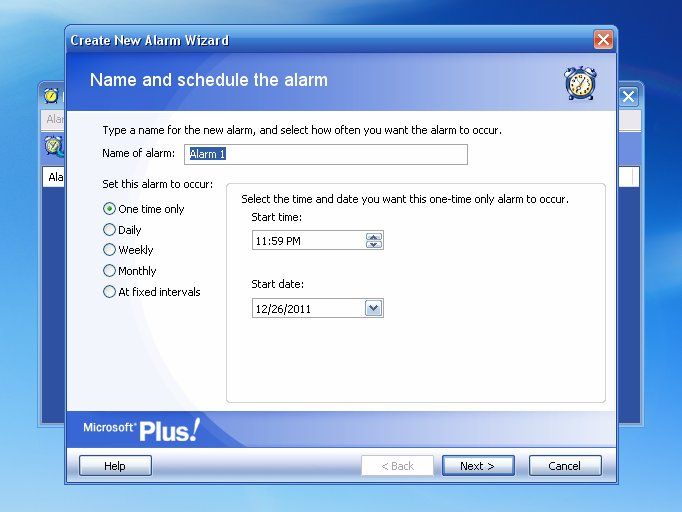
    Alarm Clock
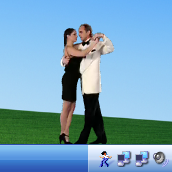
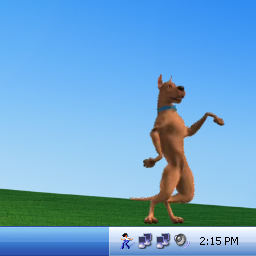
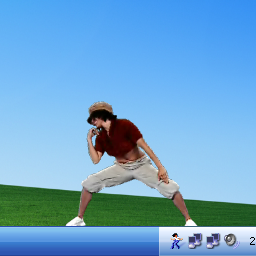
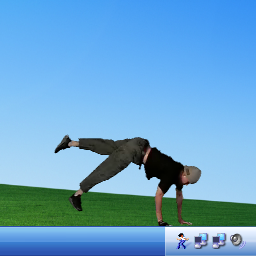
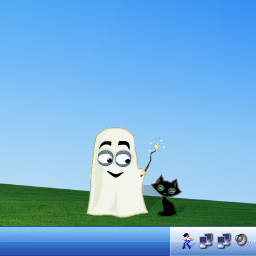
    Windows Dancer:

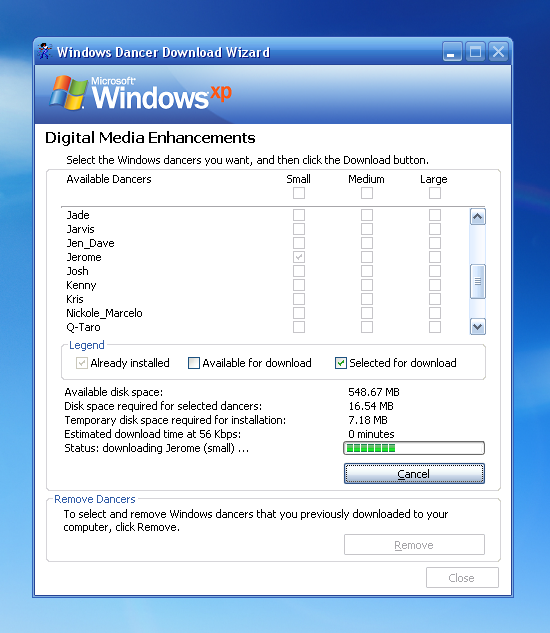
    Microsoft Plus! DME already includes the Windows Dancer app, but it does not include the Windows Dancer Downloader and some other interesting dancers.  Besides this, Microsoft Plus! DME includes the small-sized dancers.  To get large-size dancers, Windows Dancer Downloader and some other interesting dancers (which are not included in DME), you have to download the following:
    Instructions:
    1. First run the "Windows Dancer Setup" file, which includes only the Amanda dancer.
    2. After installing the above file, now install the "Windows Dancer Downloader" file, in order to download and install more interesting dancers.
    Windows Dancer Downloader
    WINDOWS MEDIA PLAYER 10
    Windows XP Media Center Edition 2005 included an upgraded version of Windows Media Player 10.  But I have included the link of more updated version of WMP, i.e., Version 11:
    But still, if you want the original Windows XP MCE 2005's Windows Media Player 10, visit the following link:
    Instructions:
    Simply run the installer.

    WINDOWS MEDIA FORMAT RUNTIME 9.5
    Get the latest version of Runtime 11:
    Instructions:
    Simply run the installer.

    WINDOWS MOVIE MAKER 2.5


    I have uploaded an updated version of Windows Movie Maker 2.6, which is also a default movie editor of Windows Vista:
    Instructions:
    1. Download and unzip the folder;
    2. Copy the Windows Movie Maker 2.6 folder to C:\Program Files;
    3. Copy the shortcut to Start Menu.

    VERY IMPORTANT NOTE:
    Since some application files might have been "patched" or "compressed" (packed) to work properly on your XP system, therefore, some "false alarm" or "false positive" may happen to some clean *.exe installers/applications /installation processes, although they are actually CLEAN & SAFE and does not pose a threat to your system. The term "false positive" is used when an Anti-Virus Software wrongly classifies an innocuous (inoffensive) file as a Virus. This incorrect detection may be due to heuristics or to an incorrect virus signature in the database of Anti-Virus. Usually some great and famous Anti-Viruses (such as Kaspersky, AVG, Norman, McAfee, etc) won't have such problem so far. If that happens to you, then simply ignore it and continue installing as it's guaranteed actually 100% safe and clean by me and other guys who are posting these applications. But again, it's still your own choice and right to decide.

    Courtesy: Amirz

    My DeviantArt Gallery: xulfikar.deviantart.com
    My YouTube Channel: youtube.com/user/znpower